Saturday, 31 March 2012
March 31
Just a quick update, New photo albums have been added to HighCalibre's facebook page!
Hical, James.
Friday, 30 March 2012
Fisher Sea Fury Detail

Wednesday, 28 March 2012
HIstorical Note on Andrea's Old Guard Grenadier, 1812


Monday, 26 March 2012
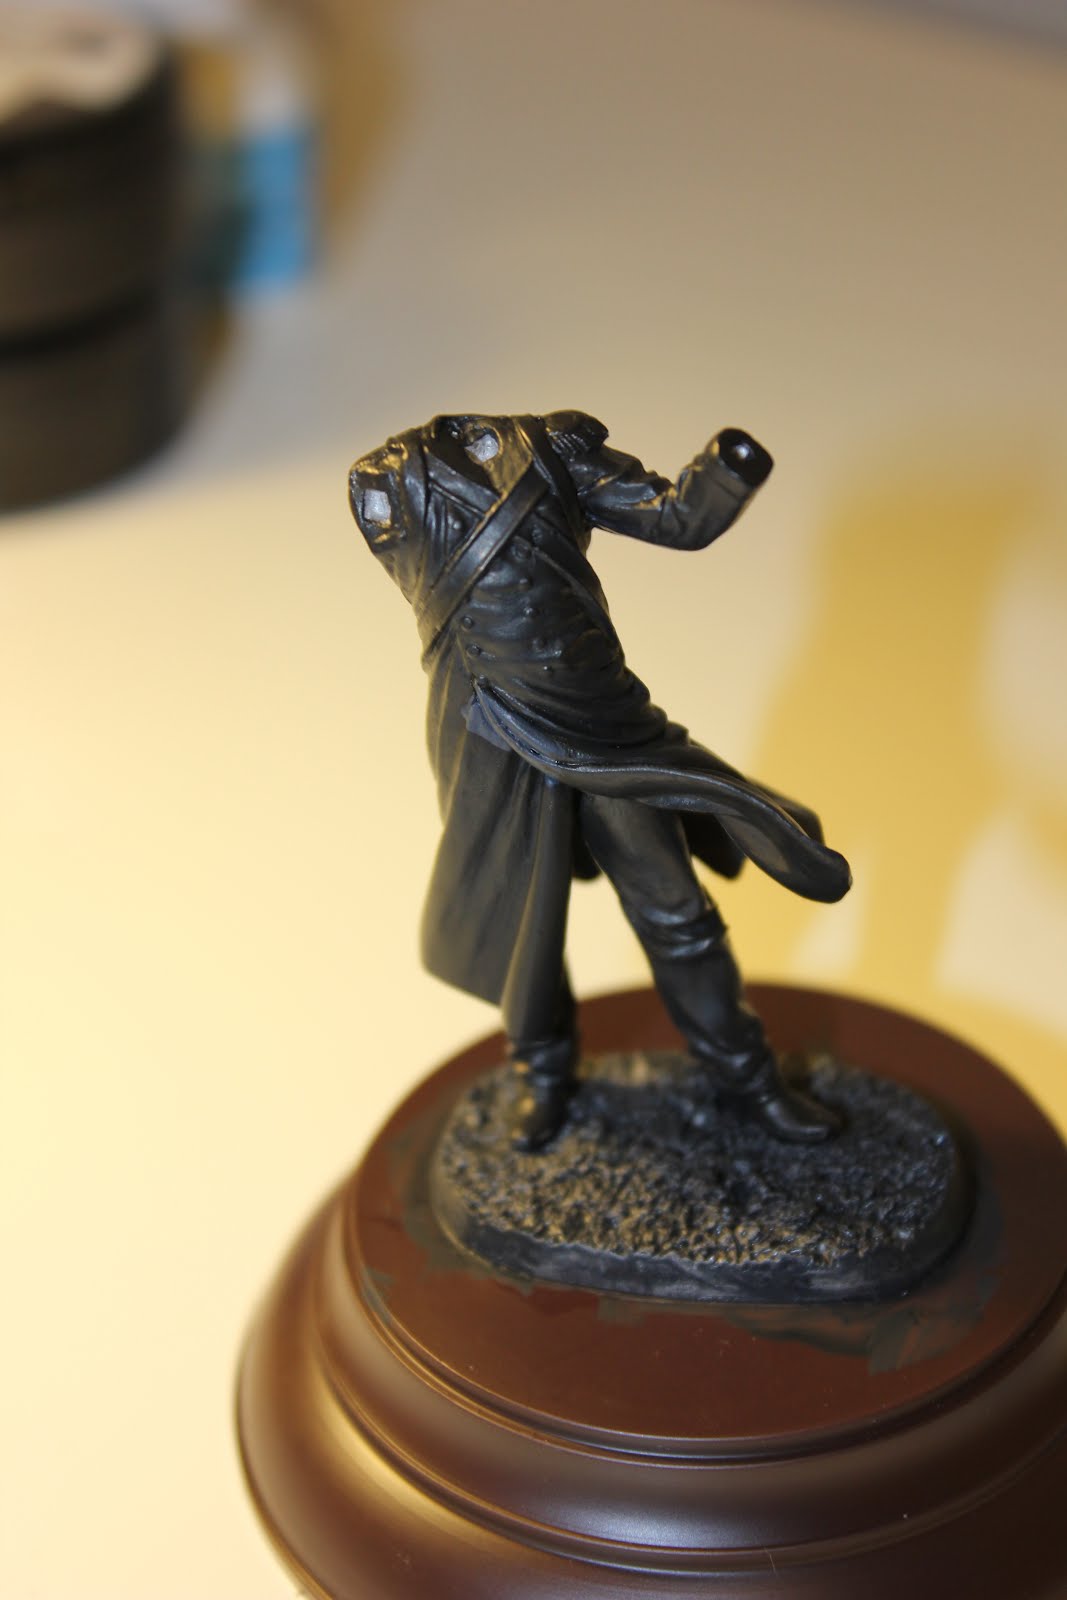
Grenadier of the Old Guard, 1812
Subject: Andrea Miniature’s 54mm Old Guard Grenadier in Russia.

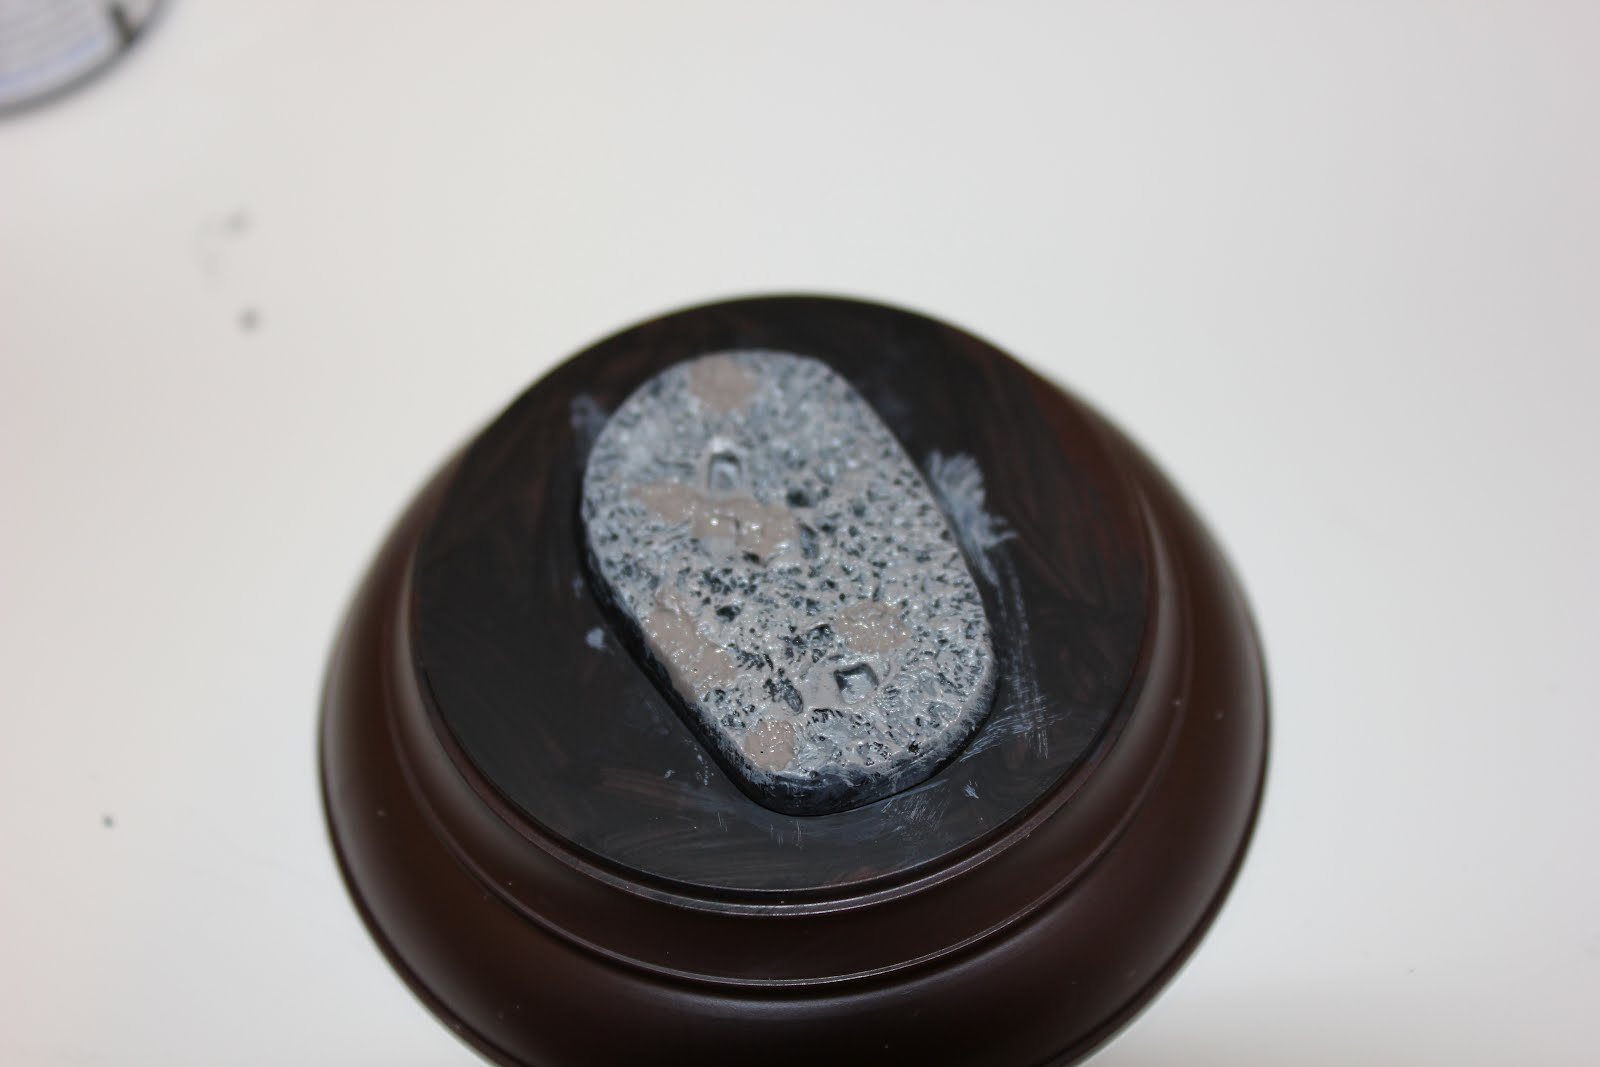
 Assembly: As with most metal figures, Andrea Miniature’s Grenadier requires some basic cleanup before assembly such as clearing away flash and removing any lumpy metal hunks which were left behind in the molding process. Once this is accomplished, I took a piece of paper towel and cleaned off the individual pieces as many still had grimy mold releasing solution on them which would cause the paint to chip later on. The first pieces to go together were the torso and left leg. To this end I made use of the base section provided by Andrea to ensure that the feet would stand properly as the glue dried. Once this piece was in place I pulled out my MiniArt round bases (an inexpensive and effective way of making your figures look just a little more professional!) and traced an outline of the metal ground section. The reasoning behind this is so that I could accurately score the inside rim of the etched outline; the scoring allowing for more surface area and thus a greater grip between the two butt-jointed pieces.
 Undercoating: The figure was given a solid base of Mr. Metal Primer before any colour was added. Once the primer was dry, I mixed up a thinned coat of Citadel Chaos Black and Vallejo Flat Blue at a ratio of 3:1 with water as a thinning agent. I took care to apply this coat to all relevant (soon to be blue) sections without removing detail through excess paint, I achieved this by occasionally adding droplets of water to my brush if the paint became too thick which allowed for a very smooth and thin application of paint. All extra detail: backpack, musket, head, side arms were undercoated with Chaos Black and Vallejo Burnt Umber at a ratio of 4:1 taking care to apply the coats thinly. The base was undercoated with Citadel Codex Grey and Chaos Black at a ratio of 3:1 respectively.
 Initial layers: The first things to be painted on the body of the figure were his overcoat and trousers. I began by mixing the same colours used in the basecoat, Chaos Black and Flat Blue, yet this time I altered the ratio to Chaos Black: Flat Blue 1:4 to allow the blue to take form without being too stark. My initial reckoning when researching this piece was that the Grenadier would have been on campaign for many months and have marched across Europe into Moscow and would be on his way back west when we meet him. With that in mind his uniform is in less than crisp condition and is significantly less vibrant than the one he wore out of the depot. With that in mind, I would be adding intermittent drops of Codex Grey and Bleached Bone to the highlights with a preference on the Grey in order to show wear and fading. Once the highlighting layers are finished, save the final peak of the tone, I undercoated the cross belts on his chest with a mix of Codex Grey, Skull White and Bleached bone at an initial ratio of 3:4:1. The highlighting of these prominent straps was achieved through gradually phasing out the grey in favor of the white and tan. I was careful not to make the cross belts too squeaky clean or brilliantly white as they would appear freshly ‘pipeclayed’ on a parade ground in France through making sure that the white did not overpower the Bleached Bone. The base of the figure was highlighted with a mix of Burnt Umber, Codex Grey, Skull White and Bleached Bone at an initial ratio of 1:4:3:1 respectively. With the base I interrupted the build up of highlights on their eventual march towards a solid final coat of Skull White with washes and pastels which I deliberately applied in small ‘pools’ and perpendicular lines.
 This was done to create an eventual, subtle randomness to the overall look of the groundwork. Directly under where the figure would be standing I applied a thin wash of Warpig Faded Panzer Grey and water which I applied as a shadow.
 Final Touches: I will omit describing the specific details of this figure in the interest of keeping this entry brief! What I will discuss is the simple weathering I applied to his coat and skin which were intended to add to the campaigning appearance. Once all details had been separated with a dark wash, I thinned down Warpig Faded Panzer Grey until it was a very runny consistency on the pallet. Using a small brush I applied the wash to various sections of his coat, cross belts and kit using a square of paper towel to smudge away the raised areas hit by the wash. His feet were given a thick wash of Chaos Black in order to bring the boots back into reality as they had been thoroughly whitened in the basing process. His flesh was somewhat unconventional compared to my usual techniques as I wanted to portray grime from constantly pouring powder into his muzzle and pan, muck from the well-trodden roads and a general pallid feel caused by the intense cold. To this end I mixed in a measure of Codex Grey in all flesh highlights and made sure to run several dirty washes of various tones of brown on his face and hands.

 Look forward to the next entry on this figure Wednesday when I discuss the history behind the subject!
Hical, James
Look forward to the next entry on this figure Wednesday when I discuss the history behind the subject!
Hical, James


Thursday, 22 March 2012
Next post will have a very exciting subject! French Grenadier in the midst of the hellish running battle which took place in 1812 as Napoleon's forces were evicted from Russia. Look forward to a tutorial on the fantastic Andrea figure and later in the week a short article on the history of the subject.
Hical, James
Tuesday, 20 March 2012
Elite Fighting Forces of the East: A Hical tutorial
Subject:
DML German Fighting Elite in the East, WWII German officer with a replacement Pegaso
Miniatures resin head.
Assembly: With this plastic, multi-piece Dragon figure; I did a typical assembly
for a 1st generation DML kit such as cleaning and removing mold lines before assembly. For
this particular piece, I have no intention of using it in a larger
diorama and so I will make use of a medium square base from Games Workshop for
display. Once the initial pieces are in place and dry, I glued the triple
magazine pouch in place, taking care to make the left arm fit once the pouch is
on. To this end, I shaved off the smaller-sub pouch to about half thickness; do
not worry about removing the detail in this instance as the pouch will be
obscured by the left arm. The pieces on his rear belt section: bread bag and shovel were attached taking care to line up the bread bag straps with their respective
location on the belt line. The shovel is used to conceal the gap between his two
leg pieces still left from assembly. Mauser and binoculars are attached
respectively. Once these pieces of gear are in place, the only assembly left is the right arm and weapon which were removed from the sprue and left independent until a later stage.

Initial
coating: The resin head was initially primed with
Humbrol Ocean Grey and left to dry before assembly. Once all pre-assembly is
complete, mix Citadel Chaos Black and Vallejo Burnt Umber in a ratio of 8:2, thinned with a
touch of water gathered on the brush. The initial coat was applied thinly in
order to preserve the sharp detail of the figure. Once all pieces had dried, I
secured the right arm in position and then touched up any bald areas.
 The figure has three basic colours: German Field Grey, The black of the detail
(boots, pouches and cap) and the flesh tone. First to be base coated is the
largest colour: the uniform which is undercoated through a mix of Vallejo Gunship Green, Burnt umber and Chaos Black at a ratio of 6:4:2
respectively. The boots are coated with a simple Chaos Black layer and the
flesh and hair areas are painted with a mix of 4:2 Burnt Umber and Chaos Black.
All detail is left untouched until the final stages.
The figure has three basic colours: German Field Grey, The black of the detail
(boots, pouches and cap) and the flesh tone. First to be base coated is the
largest colour: the uniform which is undercoated through a mix of Vallejo Gunship Green, Burnt umber and Chaos Black at a ratio of 6:4:2
respectively. The boots are coated with a simple Chaos Black layer and the
flesh and hair areas are painted with a mix of 4:2 Burnt Umber and Chaos Black.
All detail is left untouched until the final stages.

Applying
layers: As it is the largest area on the figure; the uniform is first to be layered. I began by considering the initial
base coat and building upon it in order to produce a uniform, consistent look. The
first layer is simply the base coat minus the Chaos Black. The second coat is
achieved by adding Citadel Codex Grey in a small amount to the mix. After the first
layer, the grey is also phased out to allow the primary colour of the mix, Gunship Green, to be drybrushed on its own. Once this colour has been applied,
the highlighting phase can begin by adding Citadel Bleached Bone in
progressively increasing amounts. Subtlety is essential in drybrushing
highlights, especially as this is a well known subject, German field grey,
avoiding a hyper-reality of sorts is a good idea. This can be achieved by
keeping the Bleached Bone minimal and never reaching a point in which the Bleached Bone overwhelms the green. The final highlighting process on all
three main colours will be reserved until after the washes have been applied in
order to smooth out the often harsh, stark effect that dark washes can have on
the overall appearance.

Detail
work:Once all basic layering is finished (flesh and detail work will be discussed in a later post), I applied a thinned down wash of Warpig Medium Black pastel to all areas where the drybrushing had become blurred and details needed to be enhances such as the belt, collar, buttons and the line between the boot top and pant leg. A final upper highlight was applied to smooth out the wash and blend it into the whole figure on all details and colours. The weapon was added to the hand once all washes and details had been completed (weapons will be discussed thoroughly in a later post). Dust, a key component in many figures, was lightly brushed onto the boot and pant knee as a simple weathering technique using CMK light sand pastel (details on pastels and weathering to come in a later post). The final touch was adding ground work in the form of basic turf to the base, the bright colour chosen to accompany his summer/spring uniform.

Subscribe to:
Posts (Atom)