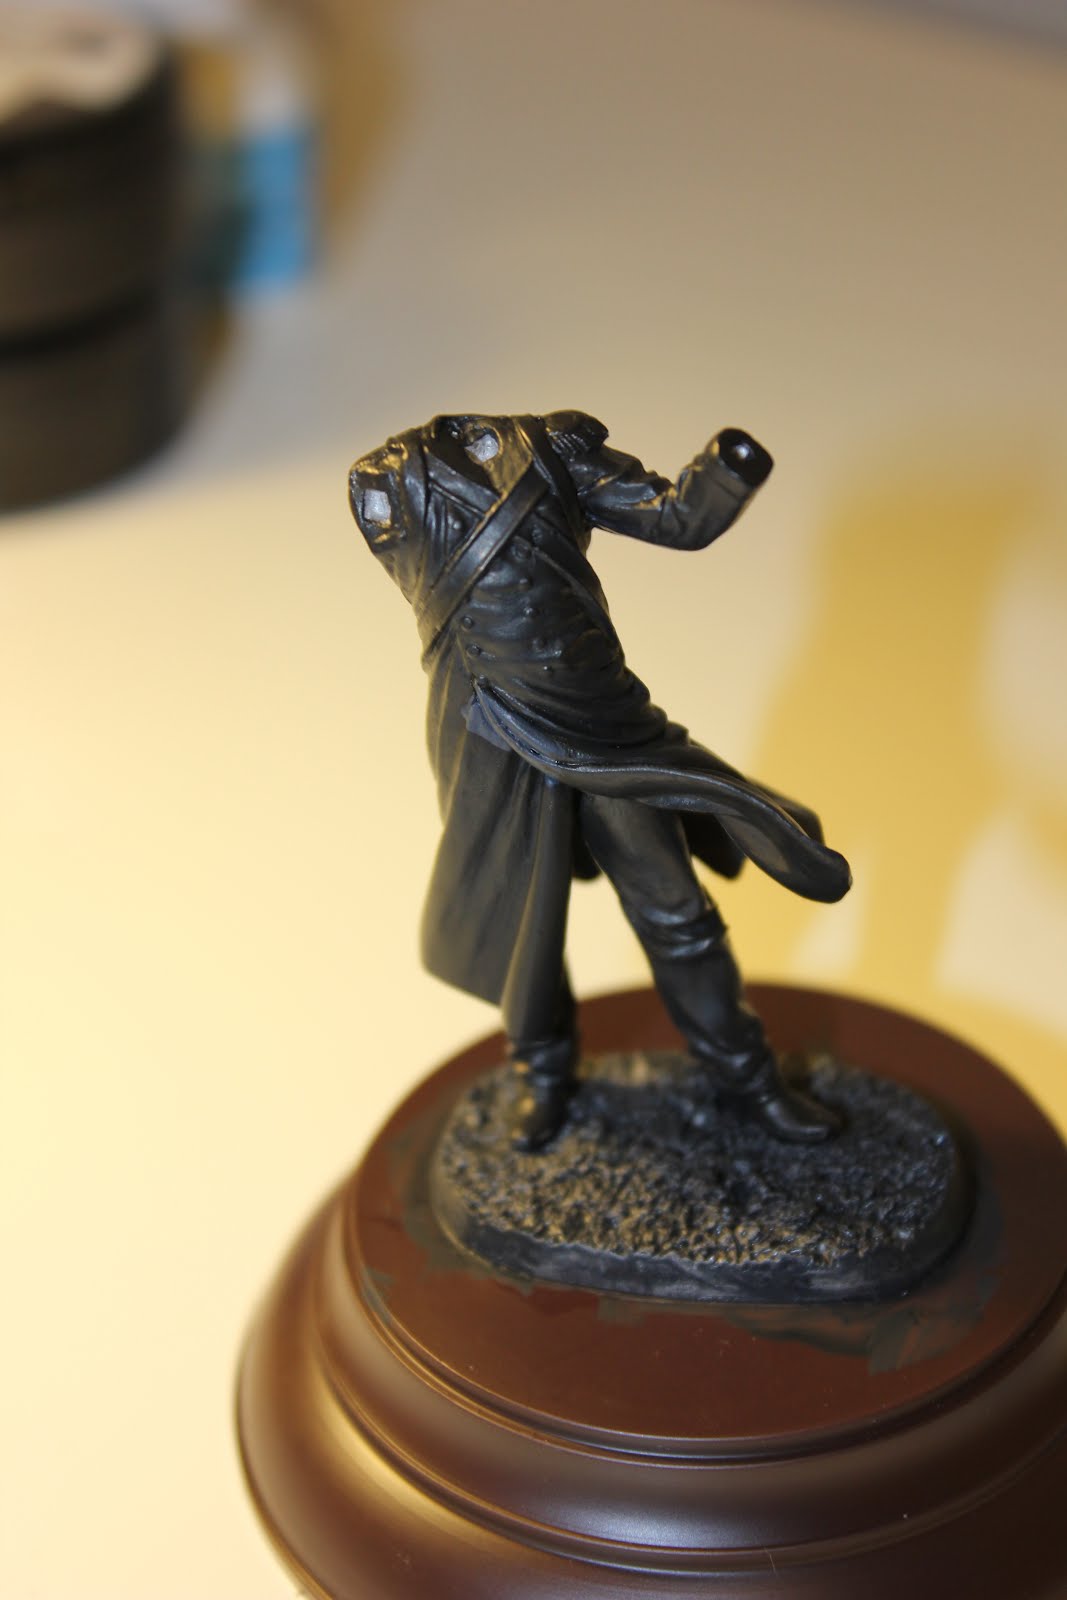
Subject: Andrea Miniature’s 54mm Old Guard Grenadier in Russia.


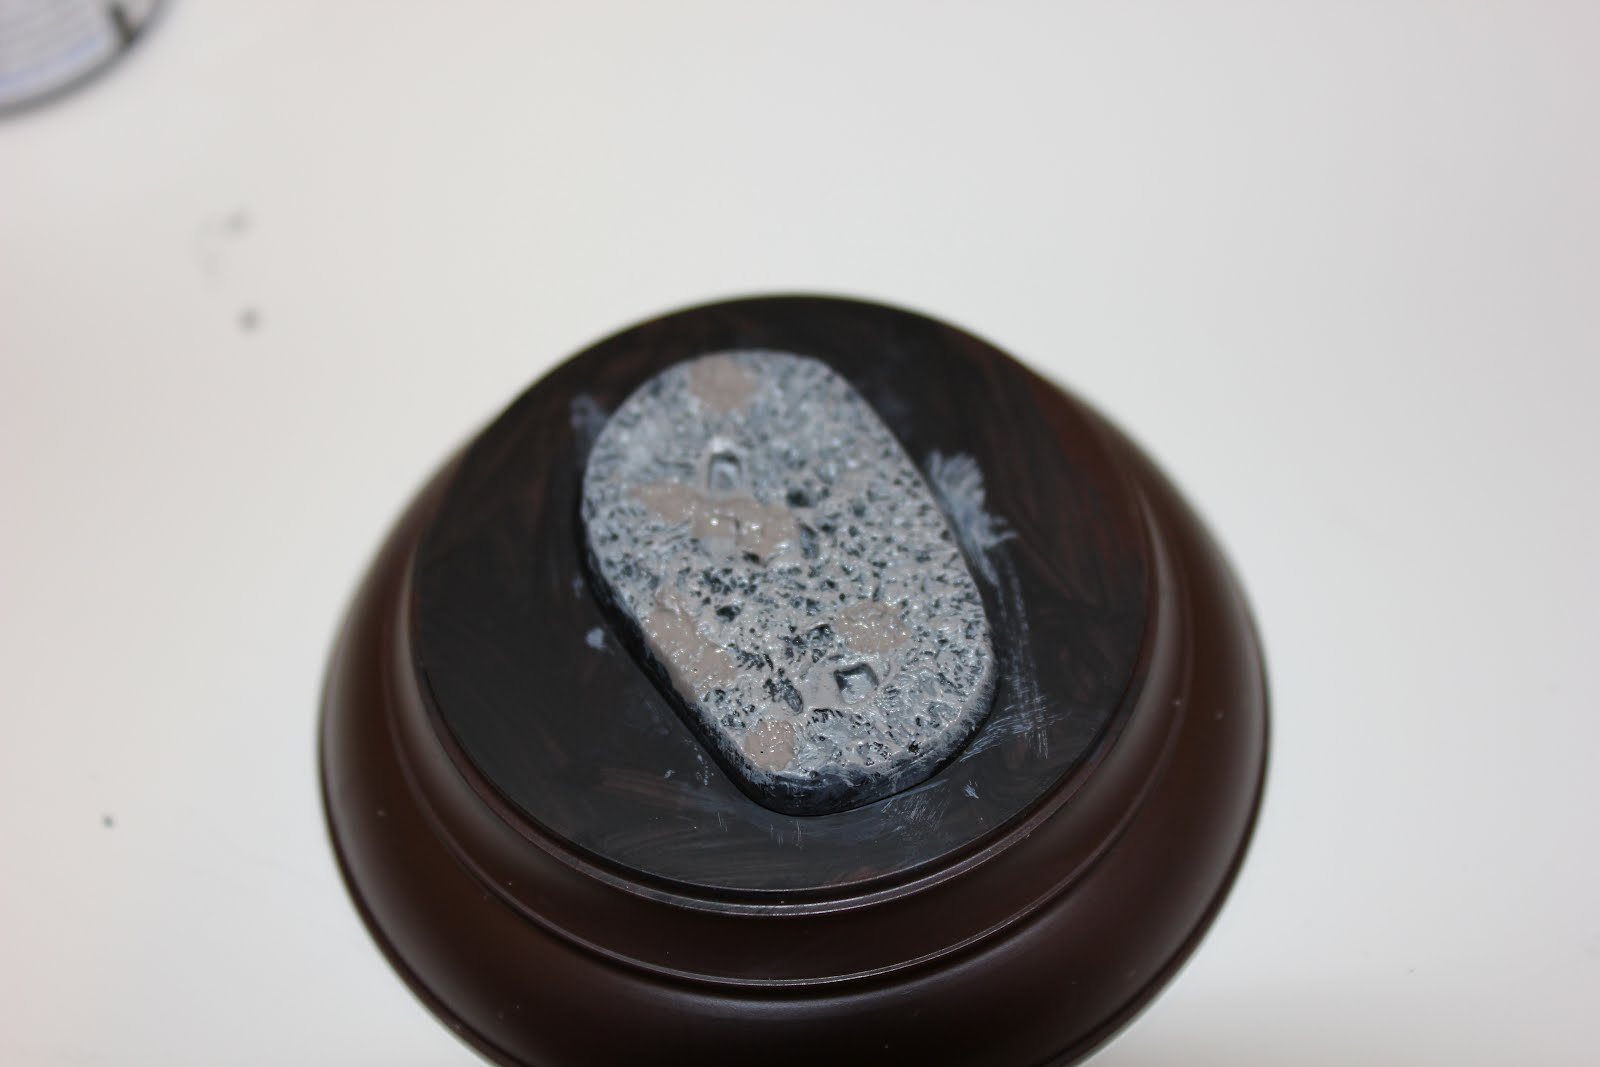
Assembly: As with most metal figures, Andrea Miniature’s Grenadier requires some basic cleanup before assembly such as clearing away flash and removing any lumpy metal hunks which were left behind in the molding process. Once this is accomplished, I took a piece of paper towel and cleaned off the individual pieces as many still had grimy mold releasing solution on them which would cause the paint to chip later on. The first pieces to go together were the torso and left leg. To this end I made use of the base section provided by Andrea to ensure that the feet would stand properly as the glue dried. Once this piece was in place I pulled out my MiniArt round bases (an inexpensive and effective way of making your figures look just a little more professional!) and traced an outline of the metal ground section. The reasoning behind this is so that I could accurately score the inside rim of the etched outline; the scoring allowing for more surface area and thus a greater grip between the two butt-jointed pieces.

Undercoating: The figure was given a solid base of Mr. Metal Primer before any colour was added. Once the primer was dry, I mixed up a thinned coat of Citadel Chaos Black and Vallejo Flat Blue at a ratio of 3:1 with water as a thinning agent. I took care to apply this coat to all relevant (soon to be blue) sections without removing detail through excess paint, I achieved this by occasionally adding droplets of water to my brush if the paint became too thick which allowed for a very smooth and thin application of paint. All extra detail: backpack, musket, head, side arms were undercoated with Chaos Black and Vallejo Burnt Umber at a ratio of 4:1 taking care to apply the coats thinly. The base was undercoated with Citadel Codex Grey and Chaos Black at a ratio of 3:1 respectively.

Initial layers: The first things to be painted on the body of the figure were his overcoat and trousers. I began by mixing the same colours used in the basecoat, Chaos Black and Flat Blue, yet this time I altered the ratio to Chaos Black: Flat Blue 1:4 to allow the blue to take form without being too stark. My initial reckoning when researching this piece was that the Grenadier would have been on campaign for many months and have marched across Europe into Moscow and would be on his way back west when we meet him. With that in mind his uniform is in less than crisp condition and is significantly less vibrant than the one he wore out of the depot. With that in mind, I would be adding intermittent drops of Codex Grey and Bleached Bone to the highlights with a preference on the Grey in order to show wear and fading. Once the highlighting layers are finished, save the final peak of the tone, I undercoated the cross belts on his chest with a mix of Codex Grey, Skull White and Bleached bone at an initial ratio of 3:4:1. The highlighting of these prominent straps was achieved through gradually phasing out the grey in favor of the white and tan. I was careful not to make the cross belts too squeaky clean or brilliantly white as they would appear freshly ‘pipeclayed’ on a parade ground in France through making sure that the white did not overpower the Bleached Bone. The base of the figure was highlighted with a mix of Burnt Umber, Codex Grey, Skull White and Bleached Bone at an initial ratio of 1:4:3:1 respectively. With the base I interrupted the build up of highlights on their eventual march towards a solid final coat of Skull White with washes and pastels which I deliberately applied in small ‘pools’ and perpendicular lines.

This was done to create an eventual, subtle randomness to the overall look of the groundwork. Directly under where the figure would be standing I applied a thin wash of Warpig Faded Panzer Grey and water which I applied as a shadow.

Final Touches: I will omit describing the specific details of this figure in the interest of keeping this entry brief! What I will discuss is the simple weathering I applied to his coat and skin which were intended to add to the campaigning appearance. Once all details had been separated with a dark wash, I thinned down Warpig Faded Panzer Grey until it was a very runny consistency on the pallet. Using a small brush I applied the wash to various sections of his coat, cross belts and kit using a square of paper towel to smudge away the raised areas hit by the wash. His feet were given a thick wash of Chaos Black in order to bring the boots back into reality as they had been thoroughly whitened in the basing process. His flesh was somewhat unconventional compared to my usual techniques as I wanted to portray grime from constantly pouring powder into his muzzle and pan, muck from the well-trodden roads and a general pallid feel caused by the intense cold. To this end I mixed in a measure of Codex Grey in all flesh highlights and made sure to run several dirty washes of various tones of brown on his face and hands.


Look forward to the next entry on this figure Wednesday when I discuss the history behind the subject!
Hical, James


No comments:
Post a Comment